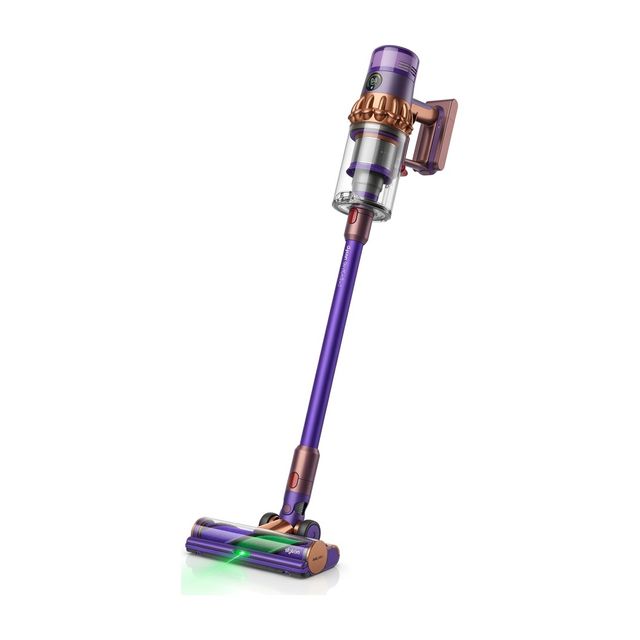
Self-cleaning flushes the roller and the internal channels with clean water while the machine sits on its dock or tray. Most machines will only start the cycle when certain conditions are met, and they tell you which one is missing through a display icon or a voice prompt. The checks below are general steps of the kind found in manufacturers' manuals; your own manual has the details for your model.
Interactive Symptom Path Finder
Select what your vacuum is doing right now to jump straight to the exact step:
Seat the Machine on a Powered Dock
Key Action: Meet the first condition for self-cleaning
Self-cleaning normally runs only with the machine parked on its dock or tray and connected to power. If the charging contacts do not meet, the button may do nothing.
Action Checklist:
- Check that the dock's power cable is plugged in at both ends and the outlet is live.
- Set the machine down on the dock so it sits upright and level, and look for the charging indicator.
- Wipe the charging contacts on the machine and the dock with a dry cloth, with the dock unplugged.
- Make sure the cleaning tray is fitted the right way round and is not lifted by debris underneath.
Let the Battery Charge
Key Action: Give the cycle enough power to run
Many machines will not start self-cleaning below a certain battery level, and will prompt you to charge first. This is common straight after a long cleaning session.
Action Checklist:
- Leave the machine on the dock to charge, then try the cycle again.
- Check your manual for the battery level your model needs before it will self-clean.
Fill the Clean Tank, Empty the Dirty Tank, Reseat Both
Key Action: Give the cycle water in and somewhere for it to go
The cycle needs clean water to flush the roller and space in the dirty-water tank to collect what it washes out. A tank that is not pushed fully home can also be read as missing.
Action Checklist:
- Fill the clean-water tank to its fill line with clean tap water, plus only the cleaning solution your manual allows.
- Empty and rinse the dirty-water tank, including its filter or strainer.
- Refit both tanks firmly until each one clicks or sits flush.
Clean and Refit the Roller, Cover and Scraper
Key Action: Remove what the cycle cannot flush away by itself
Self-cleaning rinses the roller, but it cannot remove hair wound tightly around it or large debris trapped behind it. A roller or cover that is not latched can also stop the cycle from starting.
Action Checklist:
- Switch the machine off and remove the roller cover and roller as your manual describes.
- Pull off wrapped hair and rinse the roller under the tap.
- Clean the roller housing, the scraper or comb, and the cleaning tray with the supplied brush.
- Refit the roller and cover until they latch.
Clear the Suction Channel and the Dirty-Tank Float
Key Action: Let the dirty water drain away during the cycle
If the channel between the floor head and the dirty-water tank is blocked, rinse water cannot be drawn away and the cycle may stop or leave water in the tray. A stuck float or a clogged filter in the dirty tank can make the machine think the tank is full.
Action Checklist:
- With the roller removed, check the suction opening behind it and clear any debris.
- Rinse the dirty-water tank's lid, filter and float so the float moves freely.
- Let washed filters dry as your manual instructs before the next cleaning session.
Restart, Read the Prompt, and Contact the Maker if It Still Fails
Key Action: Know where home troubleshooting ends
If every condition is met and the cycle still will not run or stops partway, read the display icon or voice prompt and look it up in your manual. Prompts and codes are specific to each brand and model.
Action Checklist:
- Switch the machine off, lift it off the dock, reseat it and try the cycle once more.
- Wipe any sensor windows your manual identifies, such as a dirt or water-level sensor.
- If the cycle still fails, or the dock's drying or heating function does not run, contact the manufacturer's support team with your model number and the prompt shown.
Do not open the dock, the heating parts or the battery compartment. Unplug the dock and contact the manufacturer if you see water inside the dock's electrical area, a damaged cable, or signs of overheating.
| What you see | Likely cause | First check |
|---|---|---|
| Button does nothing | Not docked, or dock has no power | Reseat the machine and check the outlet |
| Prompt to charge | Battery too low for the cycle | Charge on the dock, then retry |
| Water tank prompt | Clean tank empty, dirty tank full or unseated | Fill, empty and reseat both tanks |
| Roller does not turn in the cycle | Roller jammed or not latched | Clean and refit the roller and cover |
| Cycle stops early, water left in tray | Blocked suction channel or stuck float | Clear the channel and rinse the dirty tank |
FAQ Troubleshooting Answers
Frequently Asked Questions
Should I run the self-cleaning cycle after every use?
Manufacturers generally recommend it after each wet-cleaning session, followed by emptying the dirty-water tank, so residue does not dry on the roller and inside the channels. Follow the routine in your own manual.
Why is the roller still wet after self-cleaning?
Self-cleaning rinses the roller; drying is a separate step. Some docks dry the roller with warm or hot air afterwards, while others rely on air drying and the manual may tell you to remove the roller to dry. Check which type of dock your machine has.
Can I use any floor cleaner in the self-cleaning cycle?
Use only the cleaning solution your manual allows, in the amount it states. Solutions that foam heavily can interfere with the dirty-water tank, and using an unapproved product may affect your warranty.
Is It Time to Upgrade Instead of Repair?
If your vacuum cleaner is more than 5 years old, has recurrent motor loss, or replacement parts exceed 40% of its value, modern replacements deliver dramatically higher suction, tangle-free brushrolls, and sealed HEPA filtration.